Just to say thank you to the ladies I met on Saturday, and to say I have put below the info on how to make the exploding box - and I got the measurements right for the lid this time!
so here goes - start with a piece of A4 card, and cut at 21 cm on the long side. Score at 7 cm and 14 cm on both sides of the square piece and then cut out the corner squares to make a cross shape as in the 2nd picture.
with the small piece that was cut off cut down the centre to make 2 thin strips [they will be nearly 5 cm wide] crease and fold at 8 cm and 15 cm
now cut 2 lengths of card 23.5 cm x 9.5 cm and score at 1 cm on the long sides and 8 cm and 15.5 cm across, as shown in the top part of the picture below, then cut as shown in the bottom half of the picture to make a tab on each side of the end sections
now you can put your papers on as shown, one 7 cm x 7 cm for the middle, and four 7 cm x 7.5 cm for the outer flaps, add tape to the centre section of the plain piece
now place one on top of the other with all paper sides facing up
now using wet glue [it holds boxes better than double sided tape] stick the flaps to the sides to make the lid as shown below. I added a butterfly to attach my greeting to, but do what you want for this part.
on the large cross shape, add papers 6.5 cm square onto both sides of the flaps and 1 in the centre. Then cut 8 papers 7.5 cm x 4 cm and one 4 cm square, and adhere these to both sides of the thin flaps, and the centre.
If you want to put butterflies springing on acetate as I have done, cut a slit in your 4 x 4 cm paper and slot your acetate through before sticking the square in the centre
a 3 cm wide piece of acetate was folded in a zig zag attached to the centre as said above, then butterflies were added, so when you open the box the butterflies hover over the box.
the box closed. I hope this tutorial is easy for you to follow, if you have any problems, please put them in a comment, and I will try to help. Thank you.
Now for some more of my samples from this collection, the flowers are made from punched shapes from the vellum papers in the ultimate die cut neon pack, and I finally got the centres done, it looks so much better now.
the sentiments are from the new A5 stamp sets, the words in these sets are really useful
this is an alternative to the usual red Valentine's day card - or just to say "I love you"
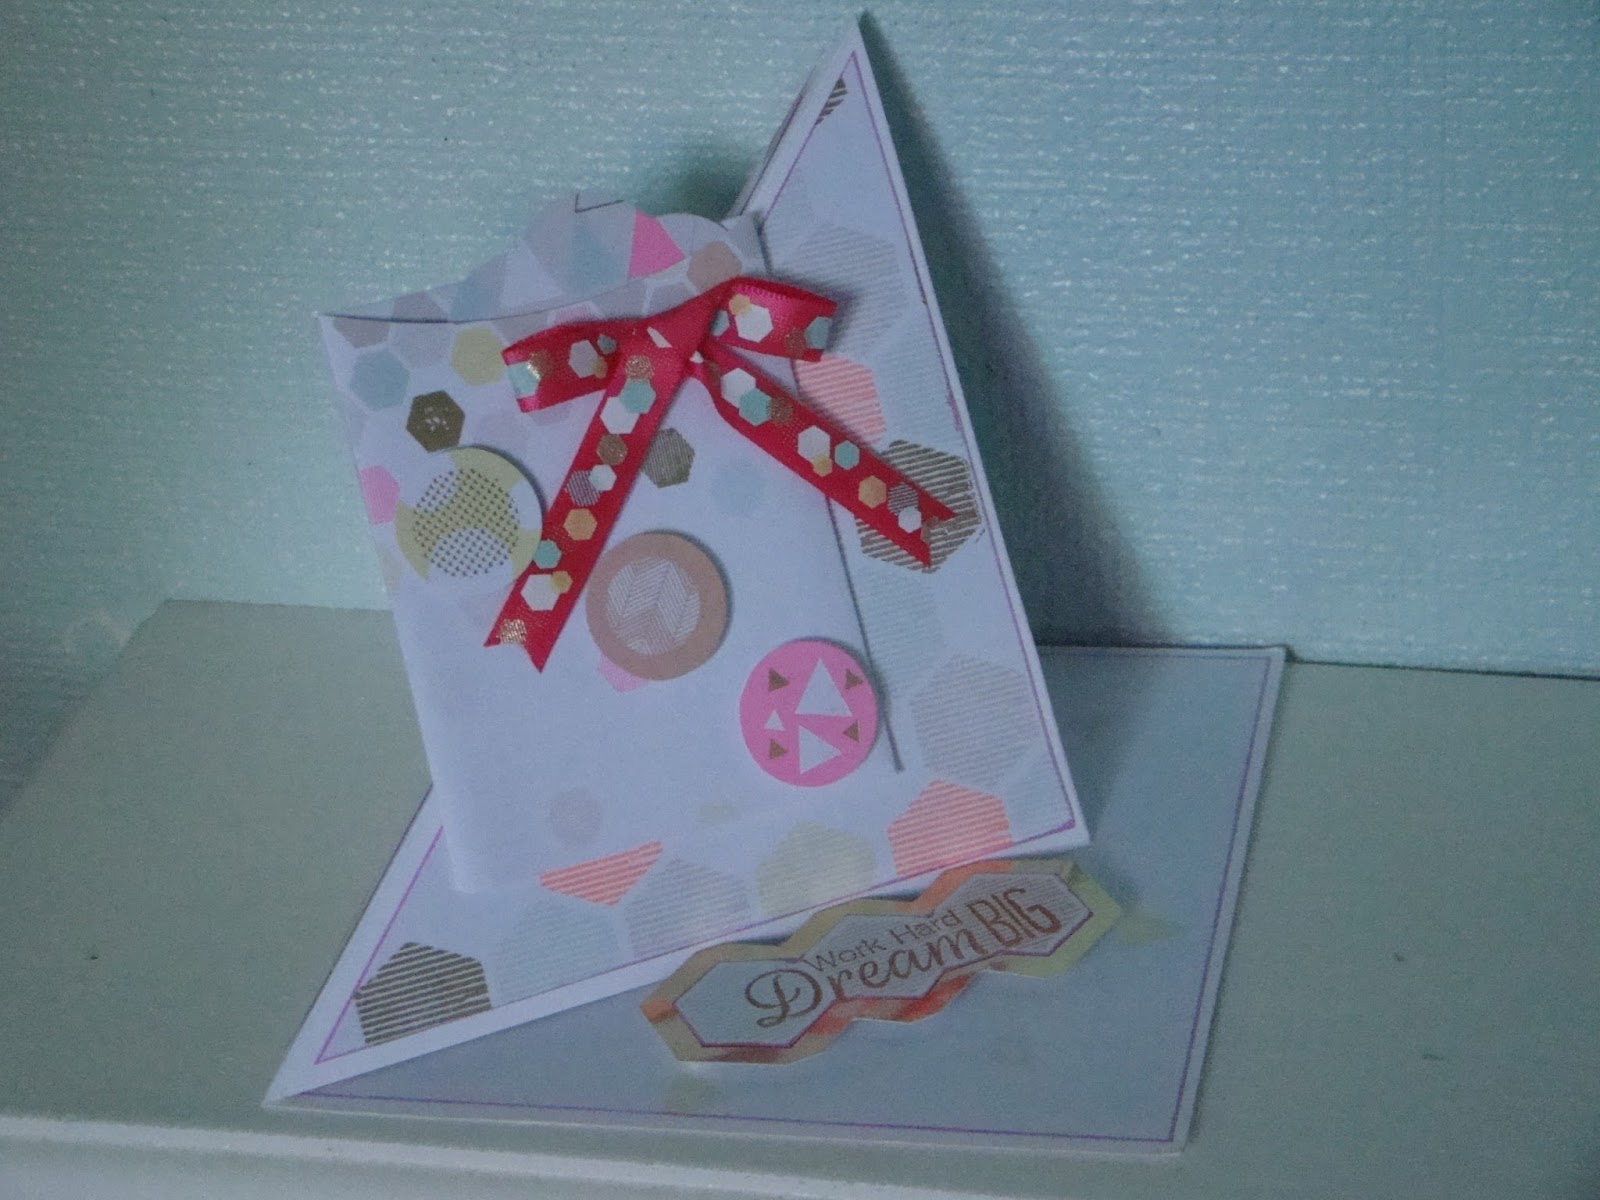
a twisted easel card again, the base card this time is a 5 x 5 craft card
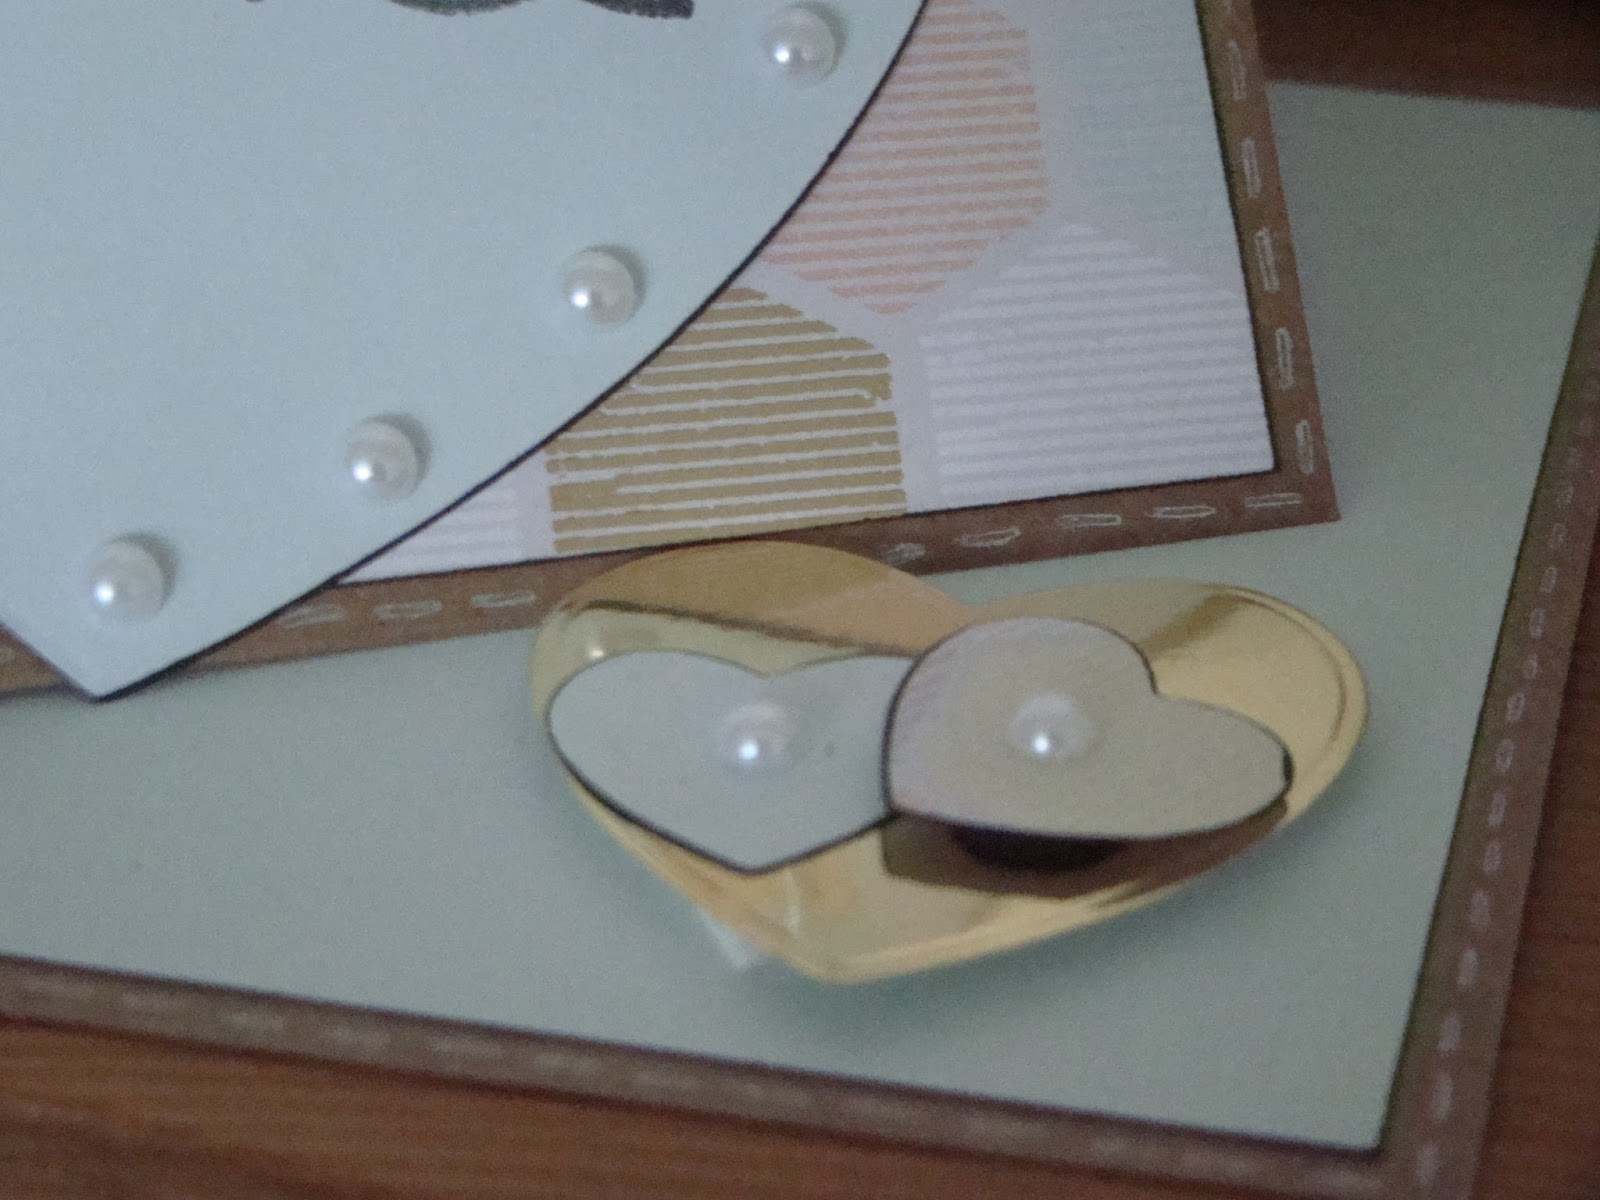
the hearts were die cut using the heart dies, from papers and gold mirri card, the small ones made the stopper, then I went a bit mad with the pearls
this card is also a 5 x 5 craft card blank, with one of the hexagon dies making the aperture, I then cut a doily from patterned paper from the collection and stuck behind the aperture, stamped the "hello" in yellow ink and cut out and stuck with foam pads to the front bottom right of the card,
then I made a bow made from the ultimate die cut pack with a gold gem in the centre, and placed it at the top left hand side of the card.
I hope you like what I have made, if you need any help do not hesitate to ask me, and you are quite welcome to use my ideas for your cards.