Below are some samples from the new collections, and I would like to say thank you to all the ladies at Northallerton on Saturday for giving me such a warm welcome, it was lovely to meet you all.
the one below is an exploding box made from the mono geometric papers.
These lend themselves on to the men's card spectrum, which I think we all struggle with
I cut a tag shape and stamped a sentiment from one of the new A5 sentiment sets, to hang it on the box I cut out a gold triangle and put on foam pads so the string could be hooked around.
I am still working out a new template for the box lid and will upload it as soon as possible, as the normal lid did not quite fit my box, as I had added a central section that actually stands slightly taller than the outer edges.
as you can see I wanted another lot of flaps to drop down in between the outer ones, but to have them the same length so they match the outer flare, they have to be slightly taller when closed up. I stamped a sentiment onto the wedge shaped in the inner square.
the card below is a dl size, the paper is cut to fit as a mat with the hexagons sitting horizontally, I then die cut a vertical hexagon into the front matted the paper on the card, then stamped and embossed in gold a sentiment from the new sentiment pack. The best way to do this is to lay your paper in place, then stamp and heat emboss then stick your paper down - I stuck down then heat embossed and the double sided tape was not a happy bunny!
inside I put the hexagon diecut on the left hand side of the card and stamped and embossed in gold a sentiment on the other side.
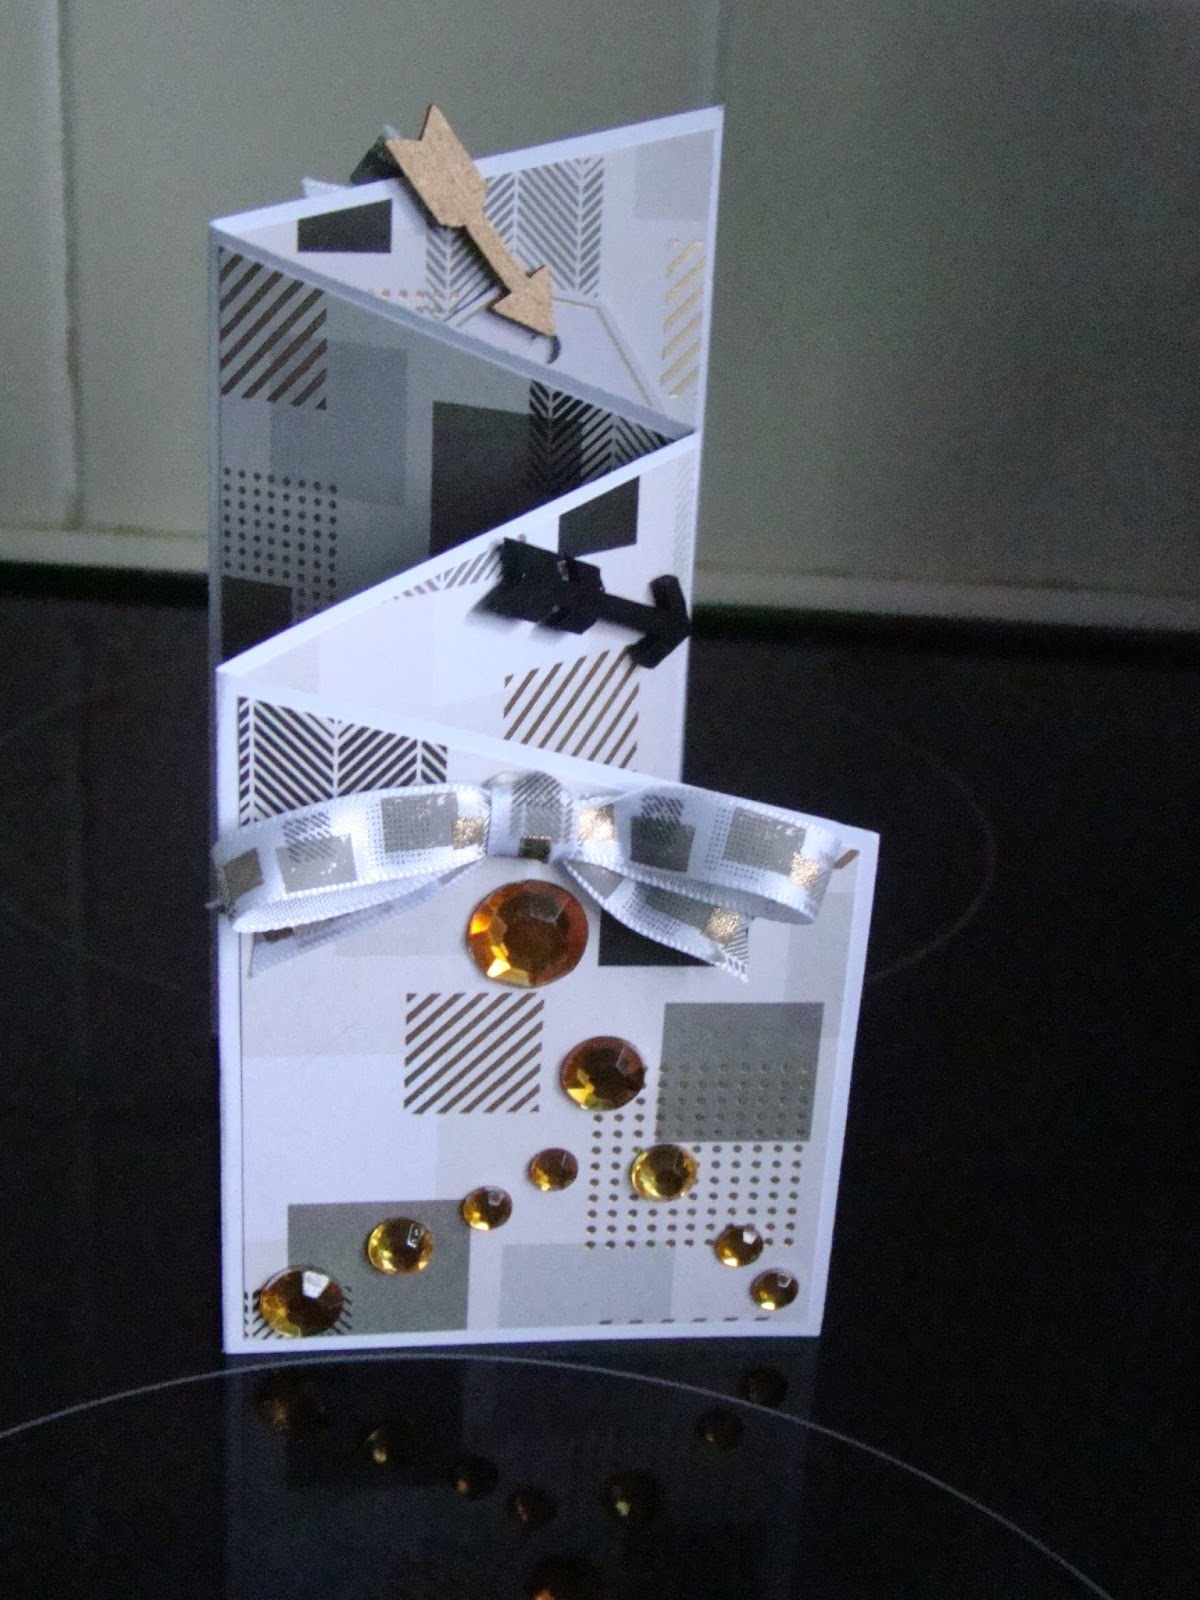
This next card is a concertina card, a simple but impressive card. To make take a sheet of A4 card for your base, and on the short side mark at 7cm on both ends then cut a line between the 2 marks so you have 2 slanted shaped pieces of card, then fold in half and half again, so you have 4 sections. So you get 2 cards from 1 A4 sheet of card.
I then cut panels to fit from 2 different papers and stuck them alternately onto both sides of the card, so when closed the papers match.
then added tags, bows and gems and arrows from the collection to finish off. Now there is somewhere to sign your card, and to stamp your greeting
below are some projects using the neon geometric collection.
this first card is a twisted easel card, to make it, fold a square card and place in front of you as normal, then crease from top free corner to the bottom attached corner.
I matted gold mirri onto the base and both triangle halves on the front then matted 2 different papers from the collection on top. I then cut 2 triangles from mirri and 2 smaller from another paper from the straight edge triangle die set, on one of these I placed craft tape down the line of the V on both sides, then added mirror tiles from the collection down the centre, this triangle was mounted on foam pads and placed on top of the plain triangle as shown, then placed on the front of the card.
I heat embossed in gold the sentiments "wishing you a", and "very happy" on to white card and cut out and mounted onto gold mirri, then placed at top right and bottom left. The" birthday" was stamped and embossed directly onto the craft tape on the stopper - mirri, then paper then craft tape down the centre.
below is a pyramid type card, just to be different. I stamped sentiments from the new A5 set and cut out, I mounted one on foam pads and attached to one side of the pyramid, the other loose card attached with a neon paper clip.
I punched and die cut several flowers and leaves using gold mirri and some of the papers from the collection, these were added to the paper panels on each side of the pyramid.
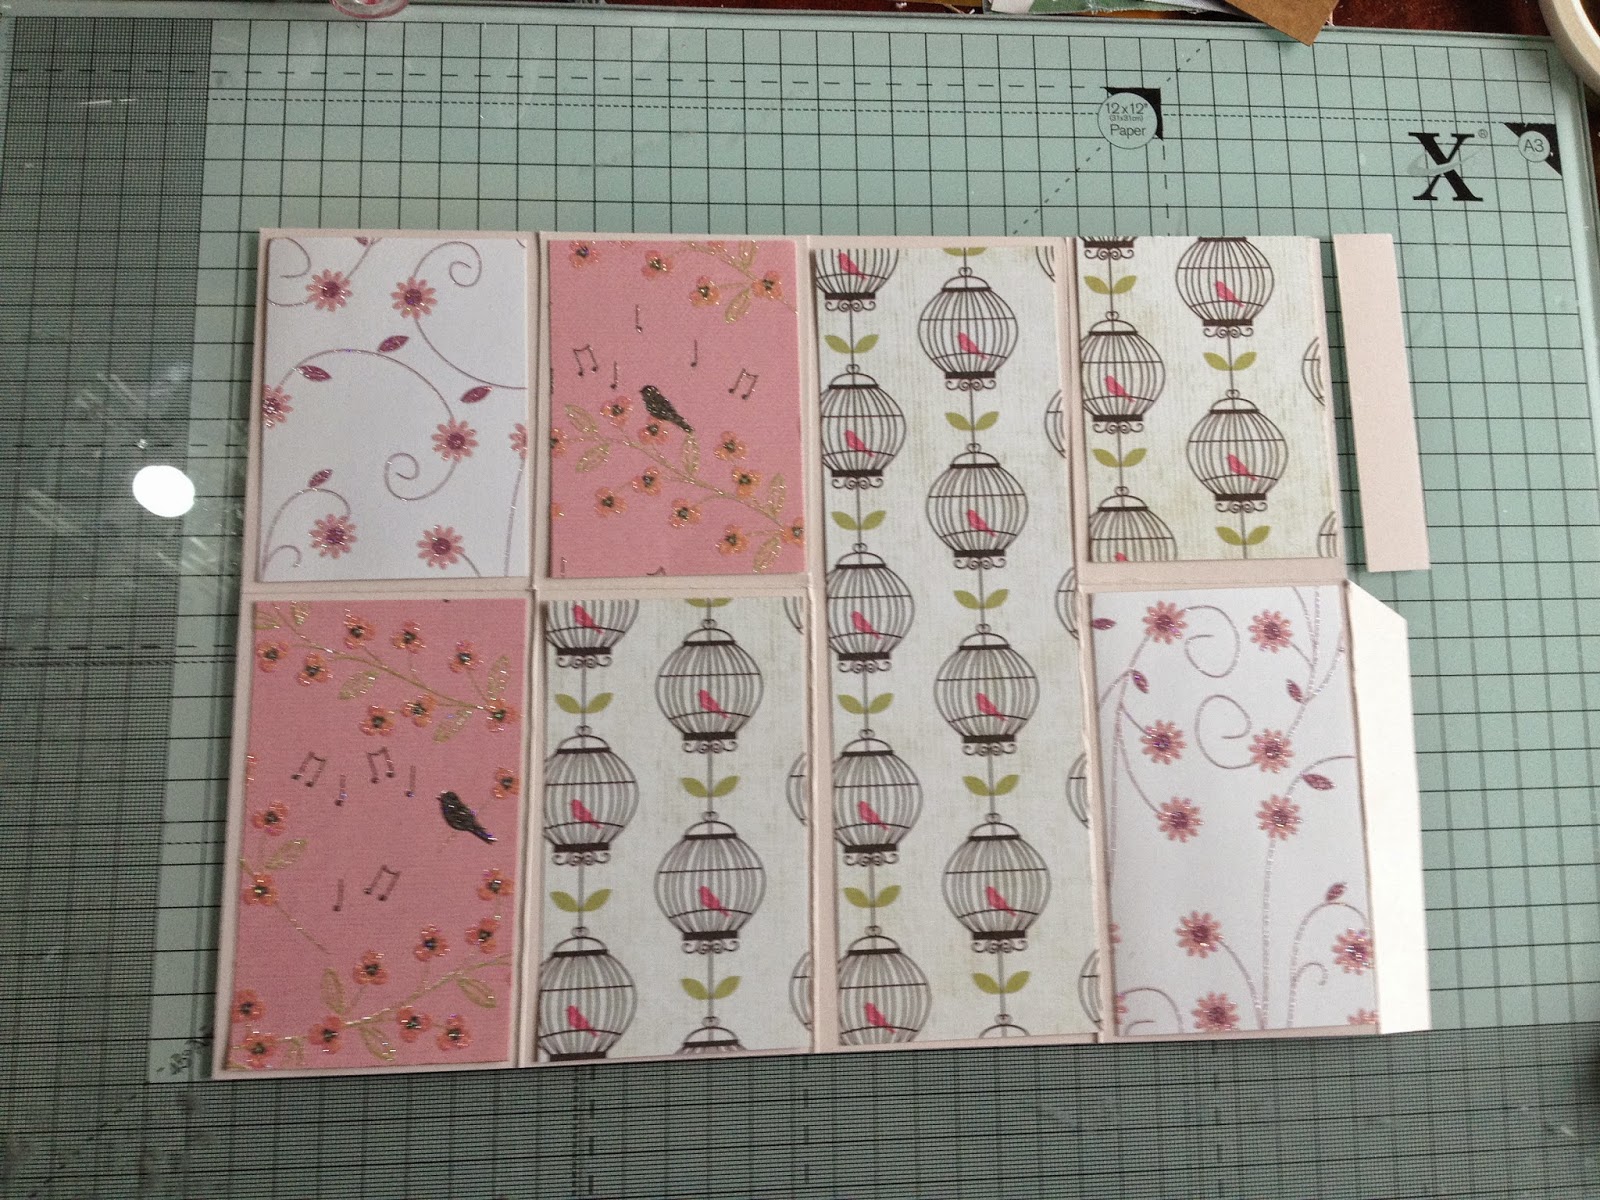
above and below are how the card looks when flat. To make cut a 21cm square piece of card and fold corner to corner, then in one section [the top middle above] crease a line centrally down, mountain fold 3 sides and valley fold the centre one. You can then fold the card into a pyramid and hold the sentiment and the folded in piece with the paper clip. I stamped a sentiment inside