Wednesday, 16 March 2016

these are some items from the country collection


a few items from this collection, which I love.


there are some lovely toppers in the A4 ultimate collection, you don't need much more on your card


above is a card made following instructions in the March magazine


here I cut some banners of different sizes and layered some, added a bow, then used the hello mini die to finish off,


the above card is made by cutting a strip out of the front of a 6 x 6 card blank, and placing the chicken wire acetate behind it, then placing the corner of the card blank back on. I die cut flowers and flourishes for the bottom right, and placed a topper and bow left top, I added a bumble bee charm to the centre of the bow.


above is an Easter wall hanging made from different paper chicks stuck onto yellow gingham ribbon, with a bow and an egg with sentiment at the bottom.


above is a 6 x 6 card embossed with the basket weave folder, inked slightly in brown, then toppers added and a border to the left, a bow and some gems, with a sentiment label finish it off,


this card is made from a sheet of the chicken wire acetate as the card blank, cut into a stepper card, I added a couple of toppers and a sentiment, then used one of the large tags as a bookmark and fastened it to the side, so is a gift and a card.


you knew there would have to be at least one exploding box, so here it is!!!


I put the little teapot and cups from the buttons and charms pack in the centre,


this is a stepper card made from a sheet of card from the natures gallery pack, it goes so well with this collection, I added ribbon down the sides on silver mirri card, paper and a topper and a bow on the centre panel, then tied bakers twine around the bottom to secure the sentiment, plus 6 gems.


and this ones is using the mini hexagon dies of different sizes, then the mini die Best Wishes cut from black mirri, and some of the sticky tiles at the bottom - easy yet effective.


some items from the Mocha geometric collection


just a few bits from my March demos with the Mocha


used the mini bunting dies for this and a strip of ribbon, stamped a sentiment and added 3 embellishments, a simple but effective card


above is a DL card blank, I cut a section of backing paper at an angle, then a white panel for the sentiment, bit of a job to line up the papers so they matched through the final image, then added a bow and embellishments.


and a stepper card, I placed a piece of burlap or hessian [take your pick] and put behind the sentiment and tag, put mirror triangles on the bottom left.


this is an off centre gatefold card. I punched the inner edges with the scallop border punch on both the card blank and the papers, matted and layered some hexagons added a few gems and ribbon down the side, I made a loop with the ribbon and fastened with a brad, so can be a man's card too.


this one is a blank hexagon card cut from kraft card, then just went down all the hexagon sizes including the mini dies with papers, then offset them built up with foam pads and added gems to the corners,


the above card was made following instructions in the March magazine,


this one is a DL card landscape ways, just 3 tags and a sentiment, and ribbon on the top, another simple and easy card


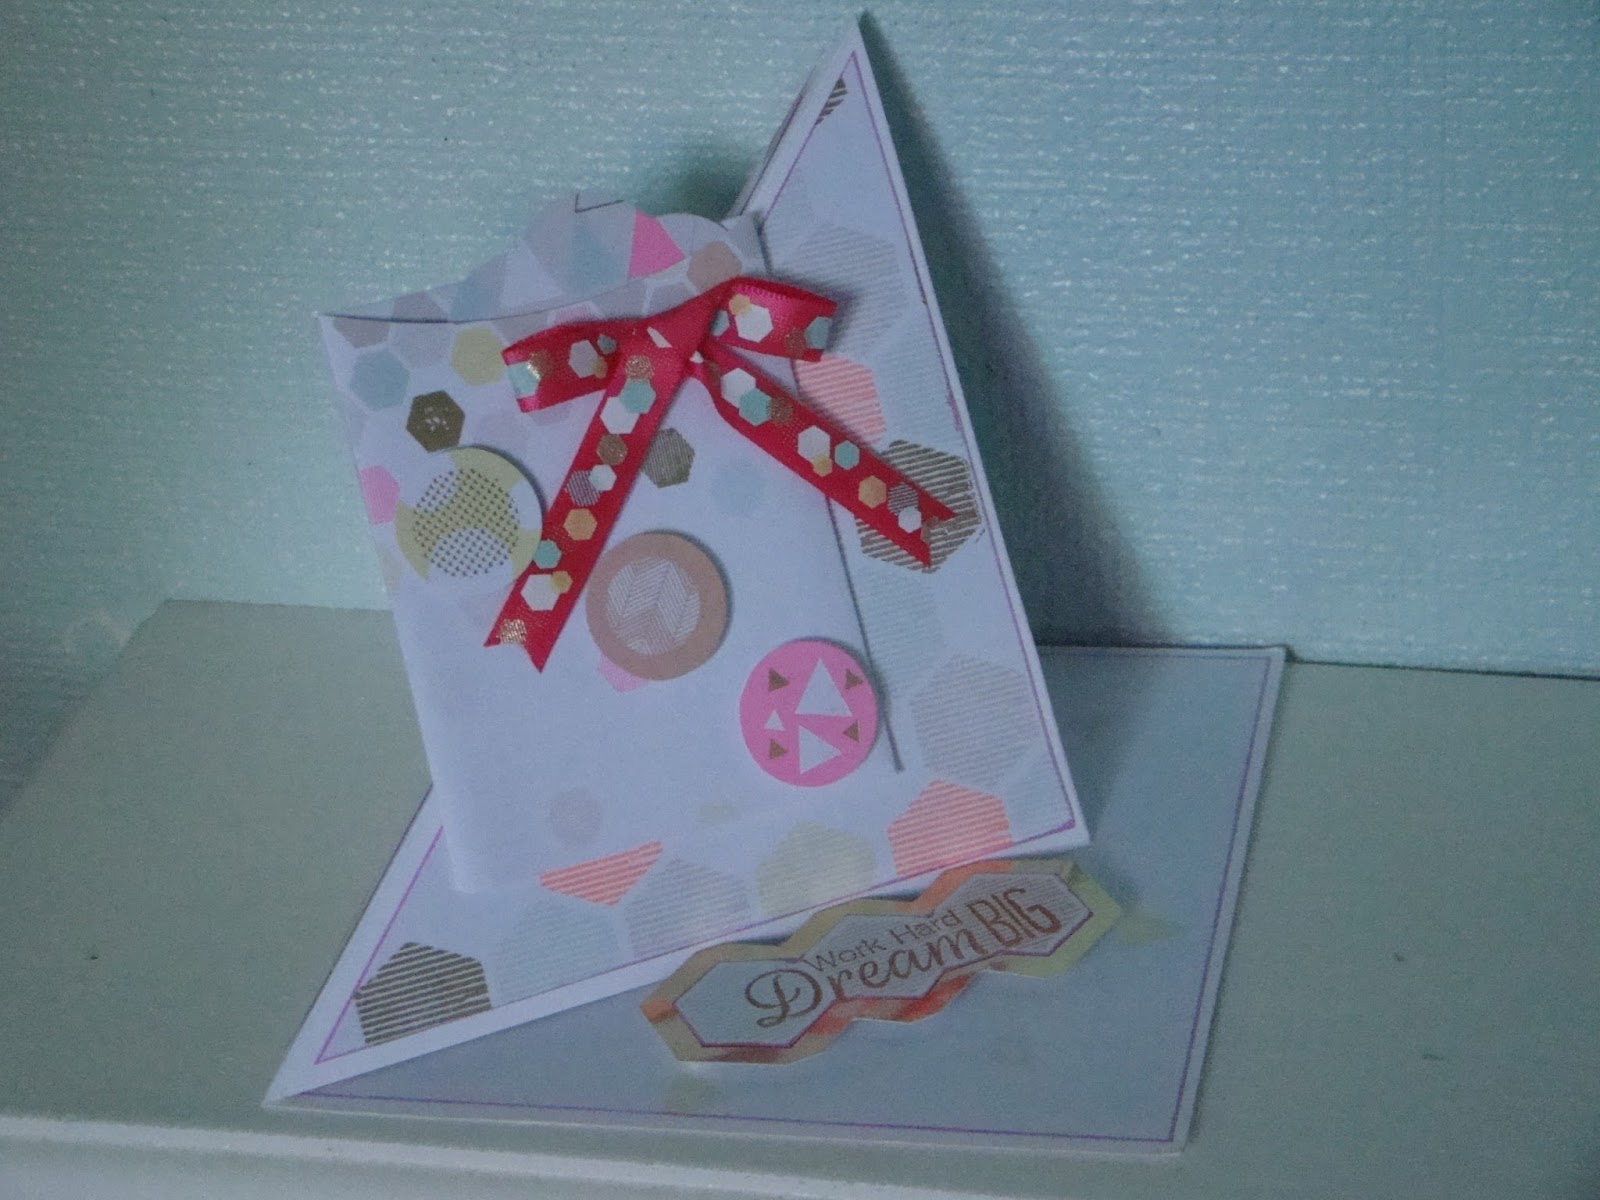
this is an easel card, the topper being made from different sized hexagons alternating with gold mirri card, then the sentiment banner with letters from the A4 ultimate pack to make the words.

Monday, 8 February 2016

A few cards from my January demos


this 1st card is made with the mono geometric papers and the Paris build a scene die set


made from the same paper collection is this star card, finished with a bow from the A4 ultimate pack


and the sentiment is from one of the new stamp sets


below is a twisted easel card made from the neon geometric collection


the sentient from the new A5 sets


and I added a tag to insert in the envelope


this card below is also made from the neon collection, I cut a circle aperture from the paper, mounted on foam pads, then stamped the sentiment inside the aperture and decorated with vellum flowers and mirri leaves, added a bow from the ultimate pack


then used the cut out circle to back another circle with the sentiment on it.


this is another aperture card, but this time it is a hexagon cut out of the front of the card, a doily was die cut from the gold honeycombe vellum and attached to show through the aperture,then added a bow and the hello sentiment


I added the co-ordinating paper for an insert as it covered up the edges of the doily, but is pale enough to write a sentiment on.


Wednesday, 13 January 2016

demo at Rotherham


Just to say thank you to the ladies I met on Saturday, and to say I have put below the info on how to make the exploding box - and I got the measurements right for the lid this time!

so here goes - start with a piece of A4 card, and cut at 21 cm on the long side. Score at 7 cm and 14 cm on both sides of the square piece and then cut out the corner squares to make a cross shape as in the 2nd picture.
with the small piece that was cut off cut down the centre to make 2 thin strips [they will be nearly 5 cm wide] crease and fold at 8 cm and 15 cm


now cut 2 lengths of card 23.5 cm x 9.5 cm and score at 1 cm on the long sides and 8 cm and 15.5 cm across,  as shown in the top part of the picture below, then cut as shown in the bottom half of the picture to make a tab on each side of the end sections


now you can put your papers on as shown, one 7 cm x 7 cm for the middle, and four 7 cm x 7.5 cm for the outer flaps, add tape to the centre section of the plain piece


 now place one on top of the other with all paper sides facing up


 now using wet glue [it holds boxes better than double sided tape] stick the flaps to the sides to make the lid as shown below. I added a butterfly to attach my greeting to, but do what you want for this part.


on the large cross shape, add papers 6.5 cm square onto both sides of the flaps and 1 in the centre. Then cut 8 papers 7.5 cm x 4 cm and one 4 cm square, and adhere these to both sides of the thin flaps, and the centre.
If you want to put butterflies springing on acetate as I have done, cut a slit in your 4 x 4 cm paper and slot your acetate through before sticking the square in the centre


a 3 cm wide piece of acetate was folded in a zig zag attached to the centre as said above, then butterflies were added, so when you open the box the butterflies hover over the box.


the box closed. I hope this tutorial is easy for you to follow, if you have any problems, please put them in a comment, and I will try to help. Thank you.


Now for some more of my samples from this collection, the flowers are made from punched shapes from the vellum papers in the ultimate die cut neon pack, and I finally got the centres done, it looks so much better now.


the sentiments are from the new A5 stamp sets, the words in these sets are really useful


this is an alternative to the usual red Valentine's day card - or just to say "I love you"
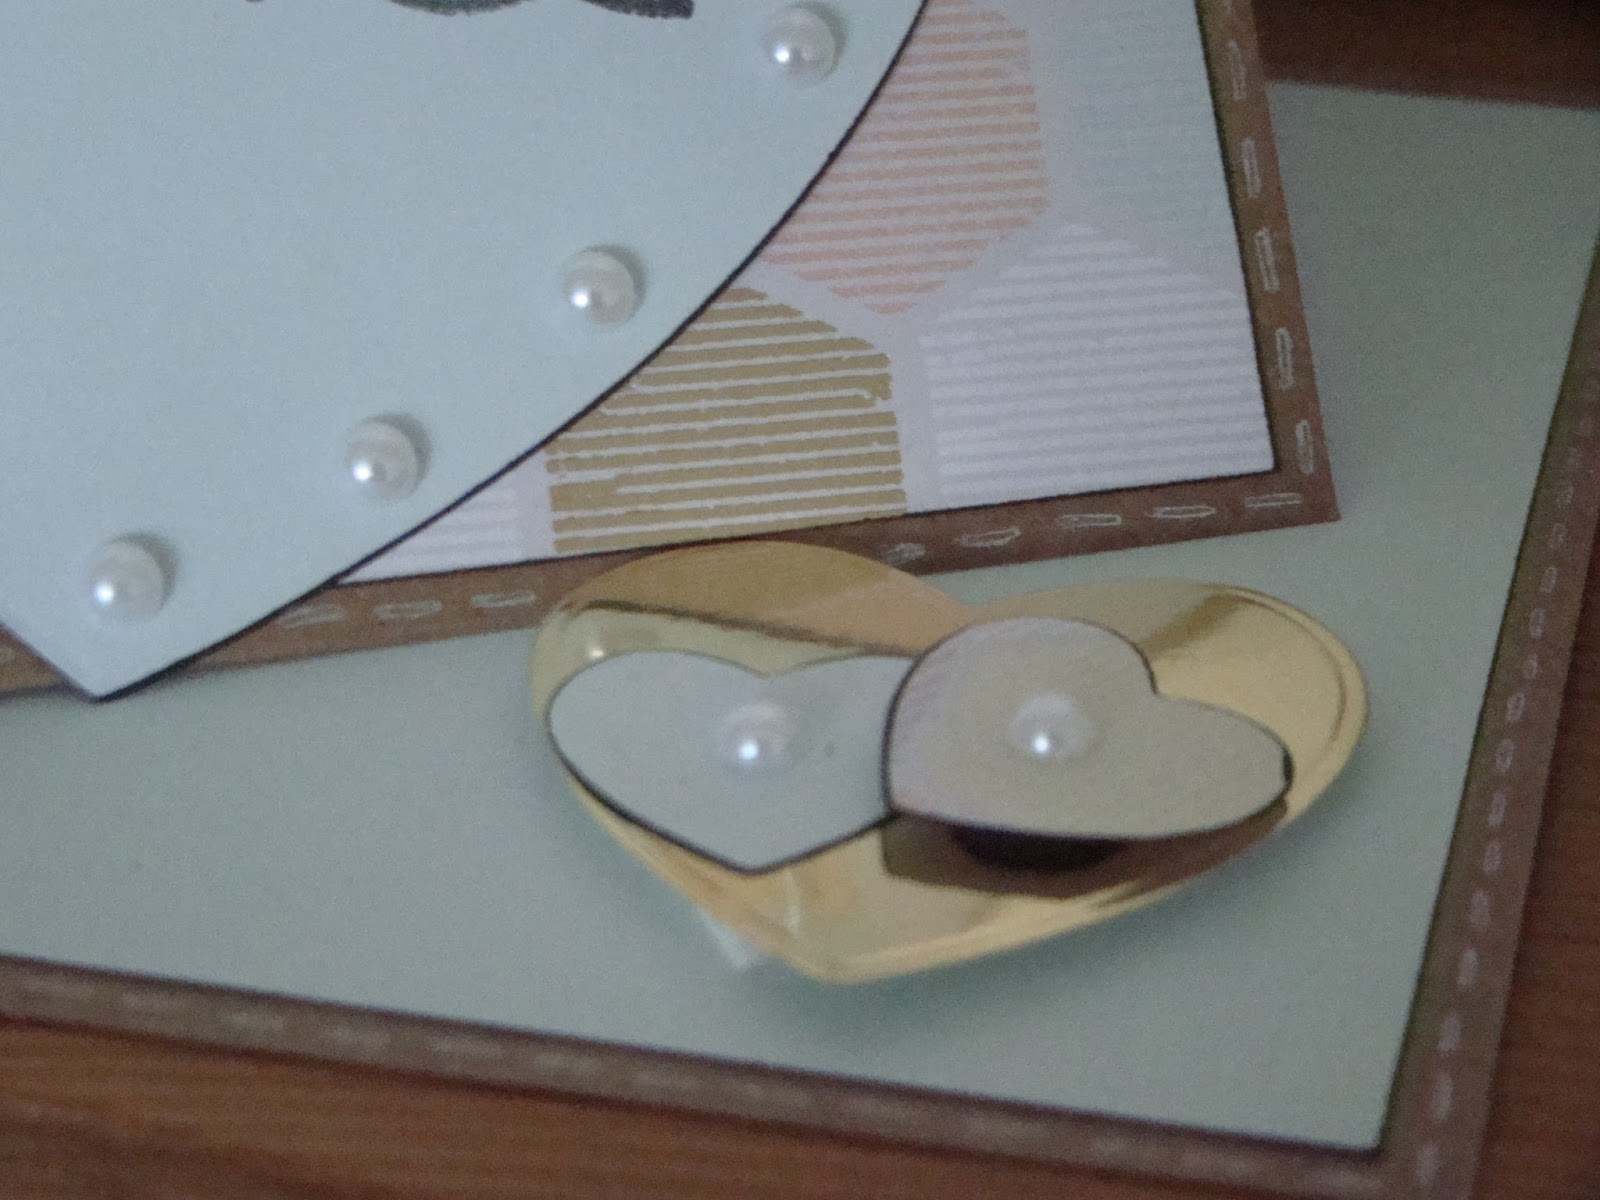
 a twisted easel card again, the base card this time is a 5 x 5 craft card


the hearts were die cut using the heart dies, from papers and gold mirri card, the small ones made the stopper, then I went a bit mad with the pearls


this card is also a 5 x 5 craft card blank, with one of the hexagon dies making the aperture, I then cut a doily from patterned paper from the collection and stuck behind the aperture, stamped the "hello" in yellow ink and cut out and stuck with foam pads to the front bottom right of the card, 


then I made a bow made from the ultimate die cut pack with a gold gem in the centre, and placed it at the top left hand side of the card.


I hope you like what I have made, if you need any help do not hesitate to ask me, and you are quite welcome to use my ideas for your cards.

Monday, 4 January 2016

some samples


Below are some samples from the new collections, and I would like to say thank you to all the ladies at Northallerton on Saturday for giving me such a warm welcome, it was lovely to meet you all.


the one below is an exploding box made from the mono geometric papers.
These lend themselves on to the men's card spectrum, which I think we all struggle with


I cut a tag shape and stamped a sentiment from one of the new A5 sentiment sets, to hang it on the box I cut out a gold triangle and put on foam pads so the string could be hooked around.


I am still working out a new template for the box lid and will upload it as soon as possible, as the normal lid did not quite fit  my box, as I had added a central section that actually stands slightly taller than the outer edges.


as you can see I wanted another lot of flaps to drop down in between the outer ones, but to have them the same length so they match the outer flare,  they have to be slightly taller when closed up. I stamped a sentiment onto the wedge shaped in the inner square.


the card below is a dl size, the paper is cut to fit as a mat with the hexagons sitting horizontally, I then die cut a vertical hexagon into the front matted the paper on the card, then stamped and embossed in gold a sentiment from the new sentiment pack. The best way to do this is to lay your paper in place, then stamp and heat emboss then stick your paper down - I stuck down then heat embossed and the double sided tape was not a happy bunny! 


inside I put the hexagon diecut on the left hand side of the card and stamped and embossed in gold a sentiment on the other side. 


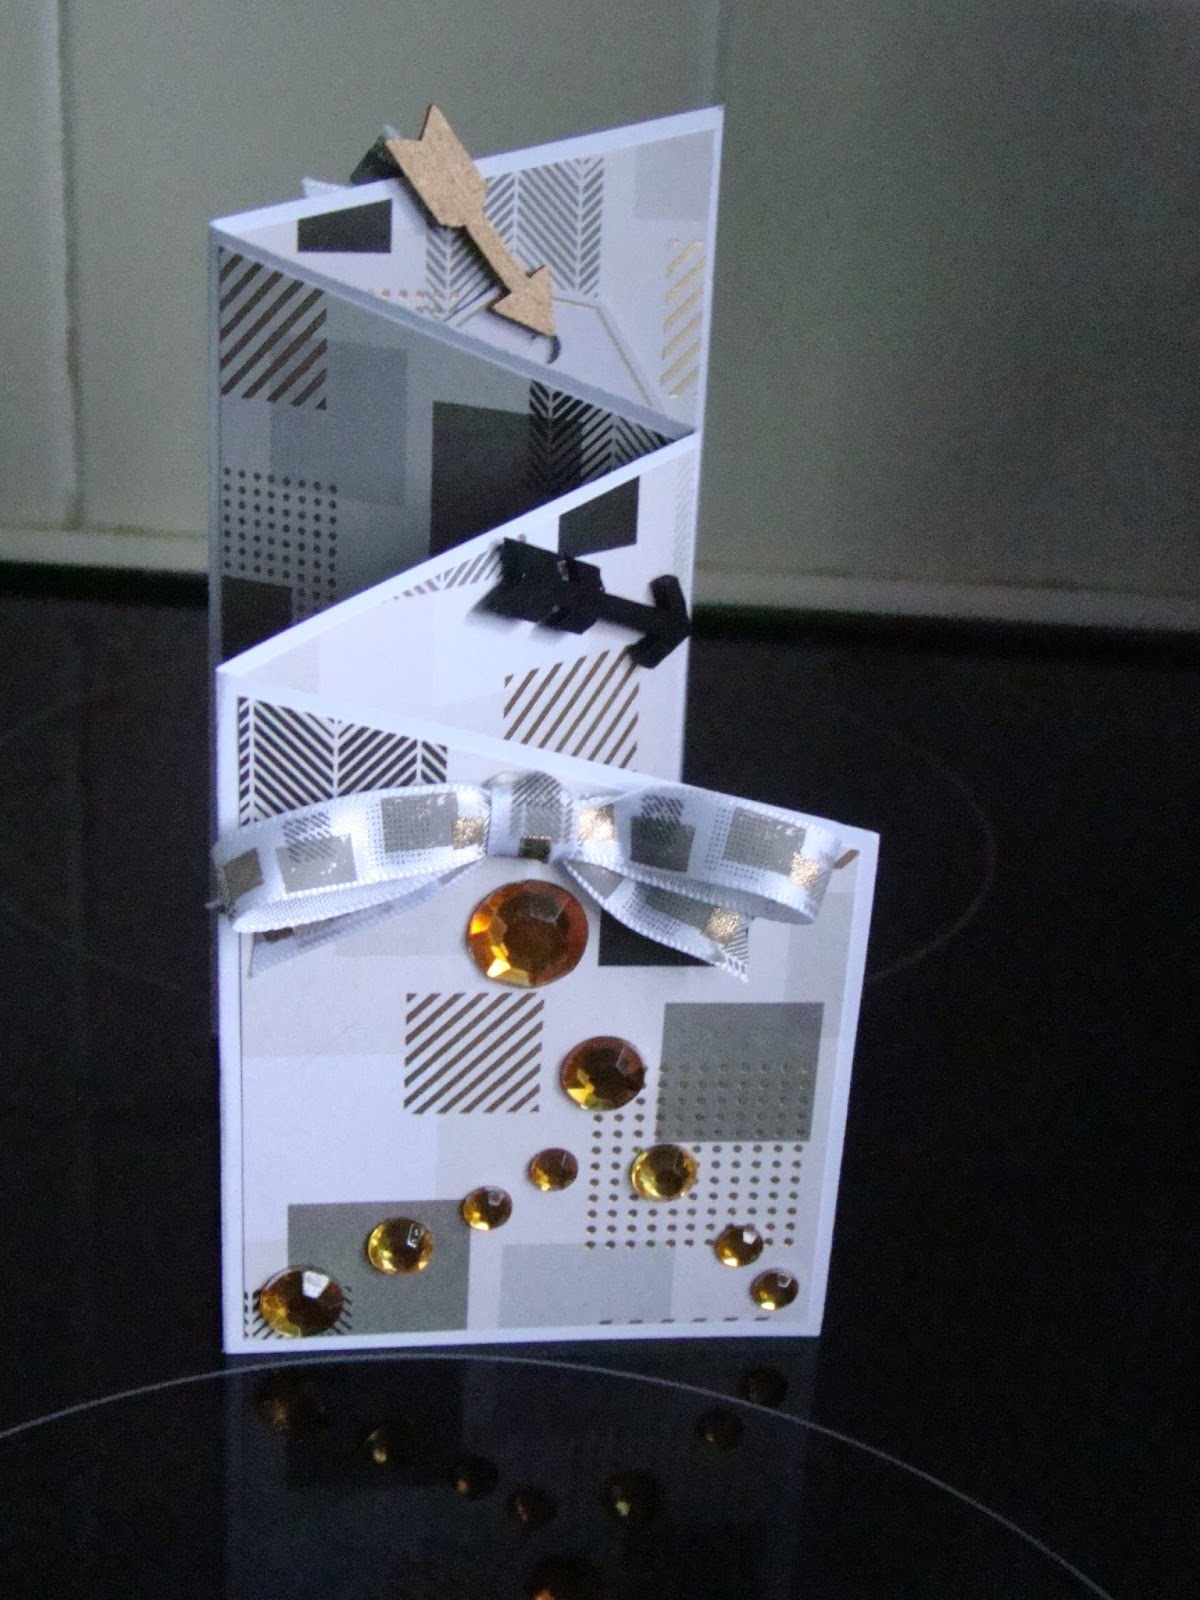
This next card is a concertina card, a simple but impressive card. To make take a sheet of A4 card for your base, and on the short side mark at 7cm on both ends then cut a line between the 2 marks so you have 2 slanted shaped pieces of card, then fold in half and half again, so you have 4 sections. So you get 2 cards from 1 A4 sheet of card.


I then cut panels to fit from 2 different papers and stuck them alternately onto both sides of the card, so when closed the papers match.


then added tags, bows and gems and arrows from the collection to finish off. Now there is somewhere to sign your card, and to stamp your greeting


below are some projects using the neon geometric collection.


this first card is a twisted easel card, to make it, fold a square card and place in front of you as normal, then crease from top free corner to the bottom attached corner.
I matted gold mirri onto the base and both triangle halves on the front then matted 2 different papers from the collection on top. I then cut 2 triangles from mirri and 2 smaller from another paper from the straight edge triangle die set, on one of these I placed craft tape down the line of the V on both sides, then added mirror tiles from the collection down the centre, this triangle was mounted on foam pads and placed on top of the plain triangle as shown, then placed on the front of the card.


I heat embossed in gold the sentiments "wishing you a", and "very happy" on to white card and cut out and mounted onto gold mirri, then placed at top right and bottom left. The" birthday" was stamped and embossed directly onto the craft tape on the stopper - mirri, then paper then craft tape down the centre.


below is a pyramid type card, just to be different. I stamped sentiments from the new A5 set and cut out, I mounted one  on foam pads and attached to one side of the pyramid, the other loose card attached with a neon paper clip.


I punched and die cut several flowers and leaves using gold mirri and some of the papers from the collection, these were added to the paper panels on each side of the pyramid.


 above and below are how the card looks when flat. To make cut a 21cm square piece of card and fold corner to corner, then in one section [the top middle above] crease a line centrally down, mountain fold 3 sides and valley fold the centre one. You can then fold the card into a pyramid and hold the sentiment and the folded in piece with the paper clip. I stamped a sentiment inside